What Are URL Shorteners?
Url shorteners are apps that take a long URL and reduce it to a shorter more readable, shareable version. URL shorteners can be used to beautify a link or disguise the underlying address.
For example, you can take a link like "google.com/search?q=url+shorteners&rlz=.." and convert it into "myurl.com/short-url". You might have come across such services before, like TinyURL.
In this tutorial, I will be taking you through how you can build a simple Url shortener from scratch. This tutorial assumes you already have a basic knowledge of JavaScript, Node.js and MongoDB.
Pre-requisites
Have the following installed:
Node - Runtime environment for running JavaScript applications outside the browser.
MongoDB - Non-relational database
Step 1- Setting up the project
In this step, you will be installing all the necessary tools for the application and setting up your Express project.
Start by creating a project directory called url_shortener. Then cd into the project directory. In your terminal type the following:
mkdir url_shortener
cd url_shortener
npm init -y
This will create a directory and initialize a package.json file in the folder. After creating your directory, you will install some packages that you will be using in the project:
Express.js - Node.js framework
Valid-url - URI validator package
Mongoose - MongoDB object modelling tool
Esm - ES6 import and export support
Postman - API testing and documentation
// installing dependencies
npm install express valid-url mongoose esm
Add the following in your package.json.
"scripts": {
  "start": "node -r esm app"
}
Your package.json should look like this now.
// your package.json
{
  "name": "url_shortener",
  "version": "1.0.0",
  "description": "",
  "main": "index.js",
  "scripts": {
    "test": "echo \"Error: no test specified\" && exit 1",
    "start": "node -r esm app"
  },
  "keywords": [],
  "author": "",
  "license": "ISC",
  "dependencies": {
    "esm": "^3.2.25",
    "express": "^4.17.1",
    "mongoose": "^6.0.12",
    "valid-url": "^1.0.9"
  }
}
Step 2- Create and Setup the entry file
In this step, you will create an entry file called app.js, which contains the specifics of how your project runs.
import validUrl from 'valid-url';
import express from 'express';
import mongoose from 'mongoose';

const app = express();
const port = 3000;

app.use(express.json());
app.listen(port, () => console.log(`Listening on port ${port}`));
Run the application using this command.
npm run start
or
yarn run start
You should get this message logged on your console.
Listening on port 3000
This confirms that your express server is up and running on port 3000.
Step 3- Setup MongoDB connection and schema
In your app.js you will set up your MongoDB connection as shown and create a schema for your document. A schema is a JSON object that allows you to define the shape and content of documents in your database. For this project, you will need to store
- the original URL that the user will input
- the shortened URL
- a randomly generated id to identify the URL
- Date and time stamps
// MongoDB connection
const dbUrl = <yourDatabaseConnectionString>
mongoose.connect( dbUrl, {
    useUnifiedTopology: true,
    useNewUrlParser: true,
})
.then( async () => {
    console.log('Connected to mongodb');
})
// schema setup
const { model, Schema } = mongoose;

const urlSchema = new Schema({
    original_url: { type: String, required: true },
    short_url: { type: String, required: true },
    generated_id: { type: String, required: true }
}, { timestamps: true });

const UrlSchema = model('UrlSchema', urlSchema);
Test your connection by running the command.
npm run start
or
yarn run start
You should get this message logged on your console.
Listening on port 3000
Connected to mongodb
This confirms that your application is connected to your MongoDB database.
Step 4- Creating the functions
First of all, you will write a function to generate a random unique string. This string will serve as the unique identifier for the URL.
const generateUniqueId = async() => {
  const generatedId = Math.random().toString(32).substr(2, 8);
  const existingId = await UrlSchema.findOne({generated_id:generatedId});
  if(existingId){
    return generateUniqueId();
  }else{
    return generatedId;
  }
}
Secondly, you will write a function to check if the link is a valid URL using the 'valid-url' package.
const checkIfUrlIsValid = (req, res, next) => {
    const { url } = req.body;
    if (validUrl.isUri(url)) {
      next();
    } else {
      res.send(400);
    }
};
Next, you will write a function to check if the URL that the user inputs exists in the database. If the URL exists you want to return the already created short URL, otherwise you want to call the next function.
const checkIfUrlExists = async (req, res, next) => {
    const findOriginalUrl = await UrlSchema.findOne({original_url:req.body.url});
    if (findOriginalUrl) {
        return res.status(200).json({ shortUrl: findOriginalUrl.short_url });
    }
    next();
};
The next function shortens the URL and saves it to the database along with the unique identifier and the original URL. It returns the short URL as a response.
const createShortUrl = async (req, res) => {
    try {
      const id = generateUniqueId();
      const shortUrl = `http://localhost:${port}/${id}`;
      const newUrl = new UrlSchema({ original_url: req.body.url, short_url: shortUrl, generated_id: id });
      await newUrl.save();
      return res.status(201).json({
        shortUrl,
      });
    } catch (error) {
      console.log(error);
      res.status(500);
    }
};
Finally, you will create a function to fetch the document from the database based on the generated_id. As earlier stated, this generated Id servers as a unique identifier for the URL. The function will search through the collection to find a document that has the generated_id equal to the urlId in the params. It will then redirect the user to the original URL gotten from the returned document. If the URL is not stored in the database, it will return a 404 HTTP response.
const findUrl = async (req, res) => {
    const { urlId } = req.params;
    const returnedUrl = await UrlSchema.findOne({generated_id:urlId});
    return returnedUrl
      ? res.redirect(returnedUrl.original_url)
      : res.status(404);
};
Step 5- Creating the APIs Endpoints
You will create two endpoints. A post request to create the short URL and save it to the database. A get request to fetch the original URL from the database. This get request will redirect the user to the original URL.
app.post("/shorten", checkIfUrlIsValid, checkIfUrlExists, createShortUrl);
app.get("/:urlId", findUrl);
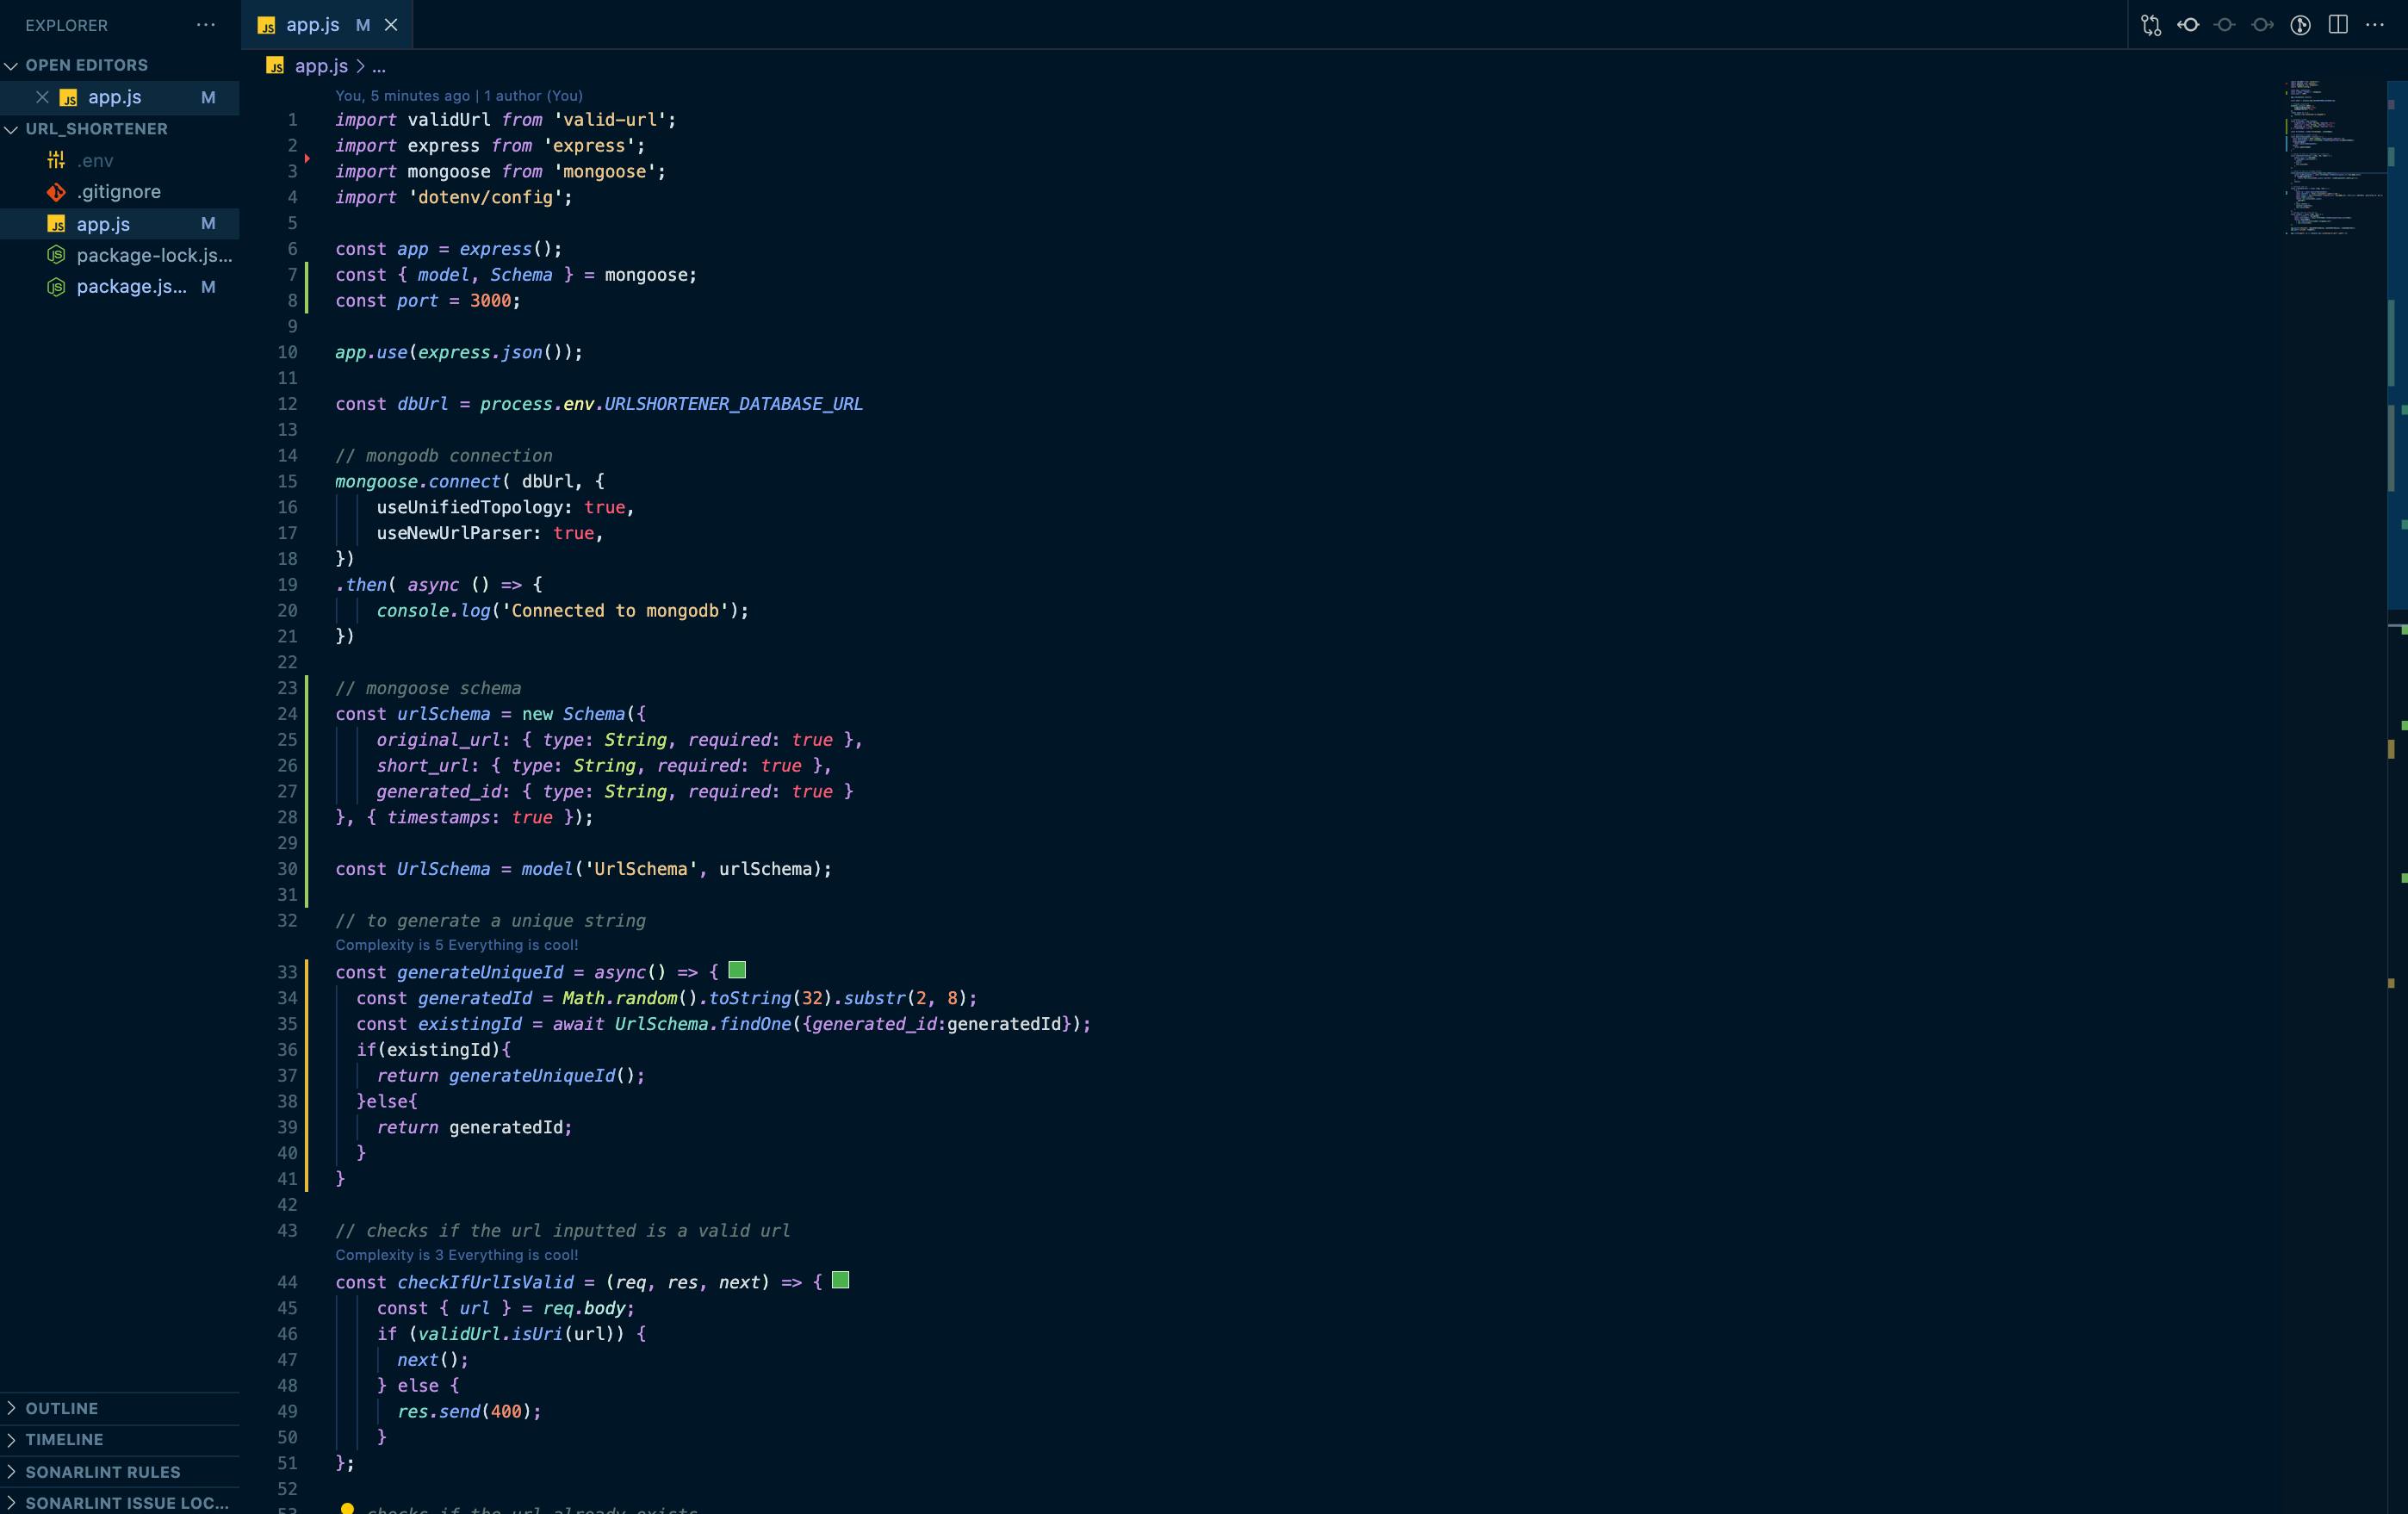
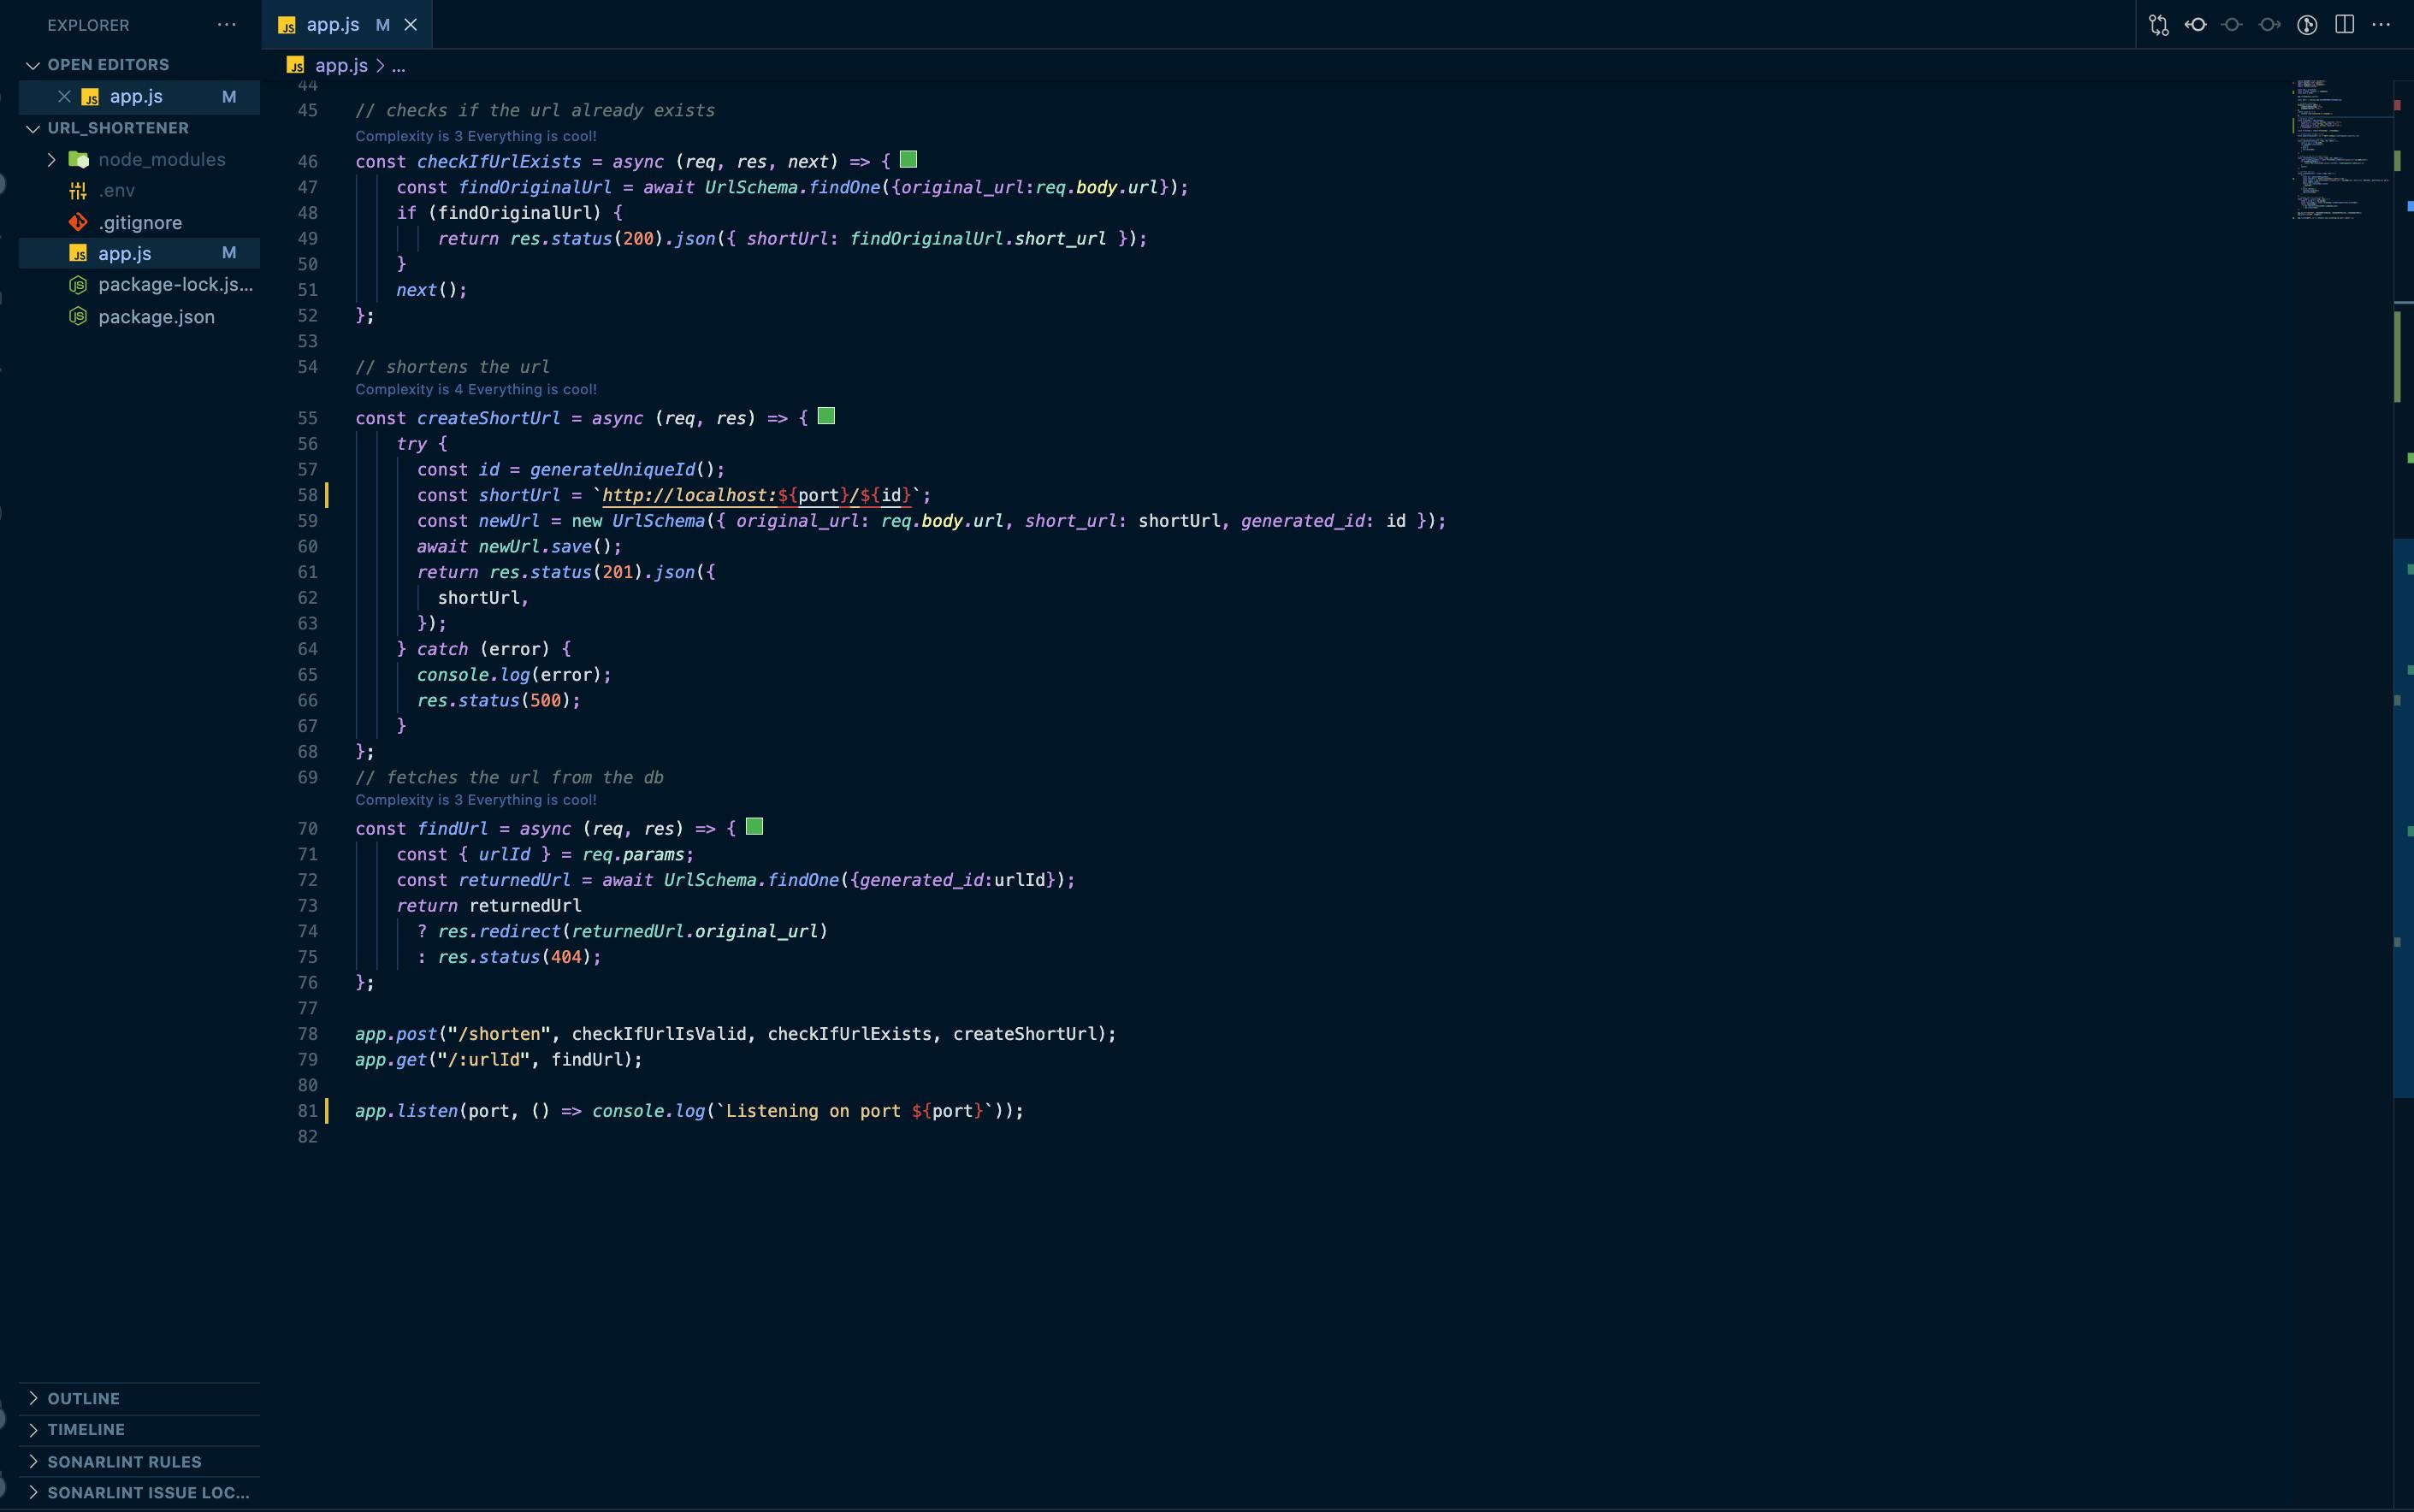
Your project should look somewhat like this.


Step 6- Running your application
Finally, run your application by navigating to your terminal.
npm run start
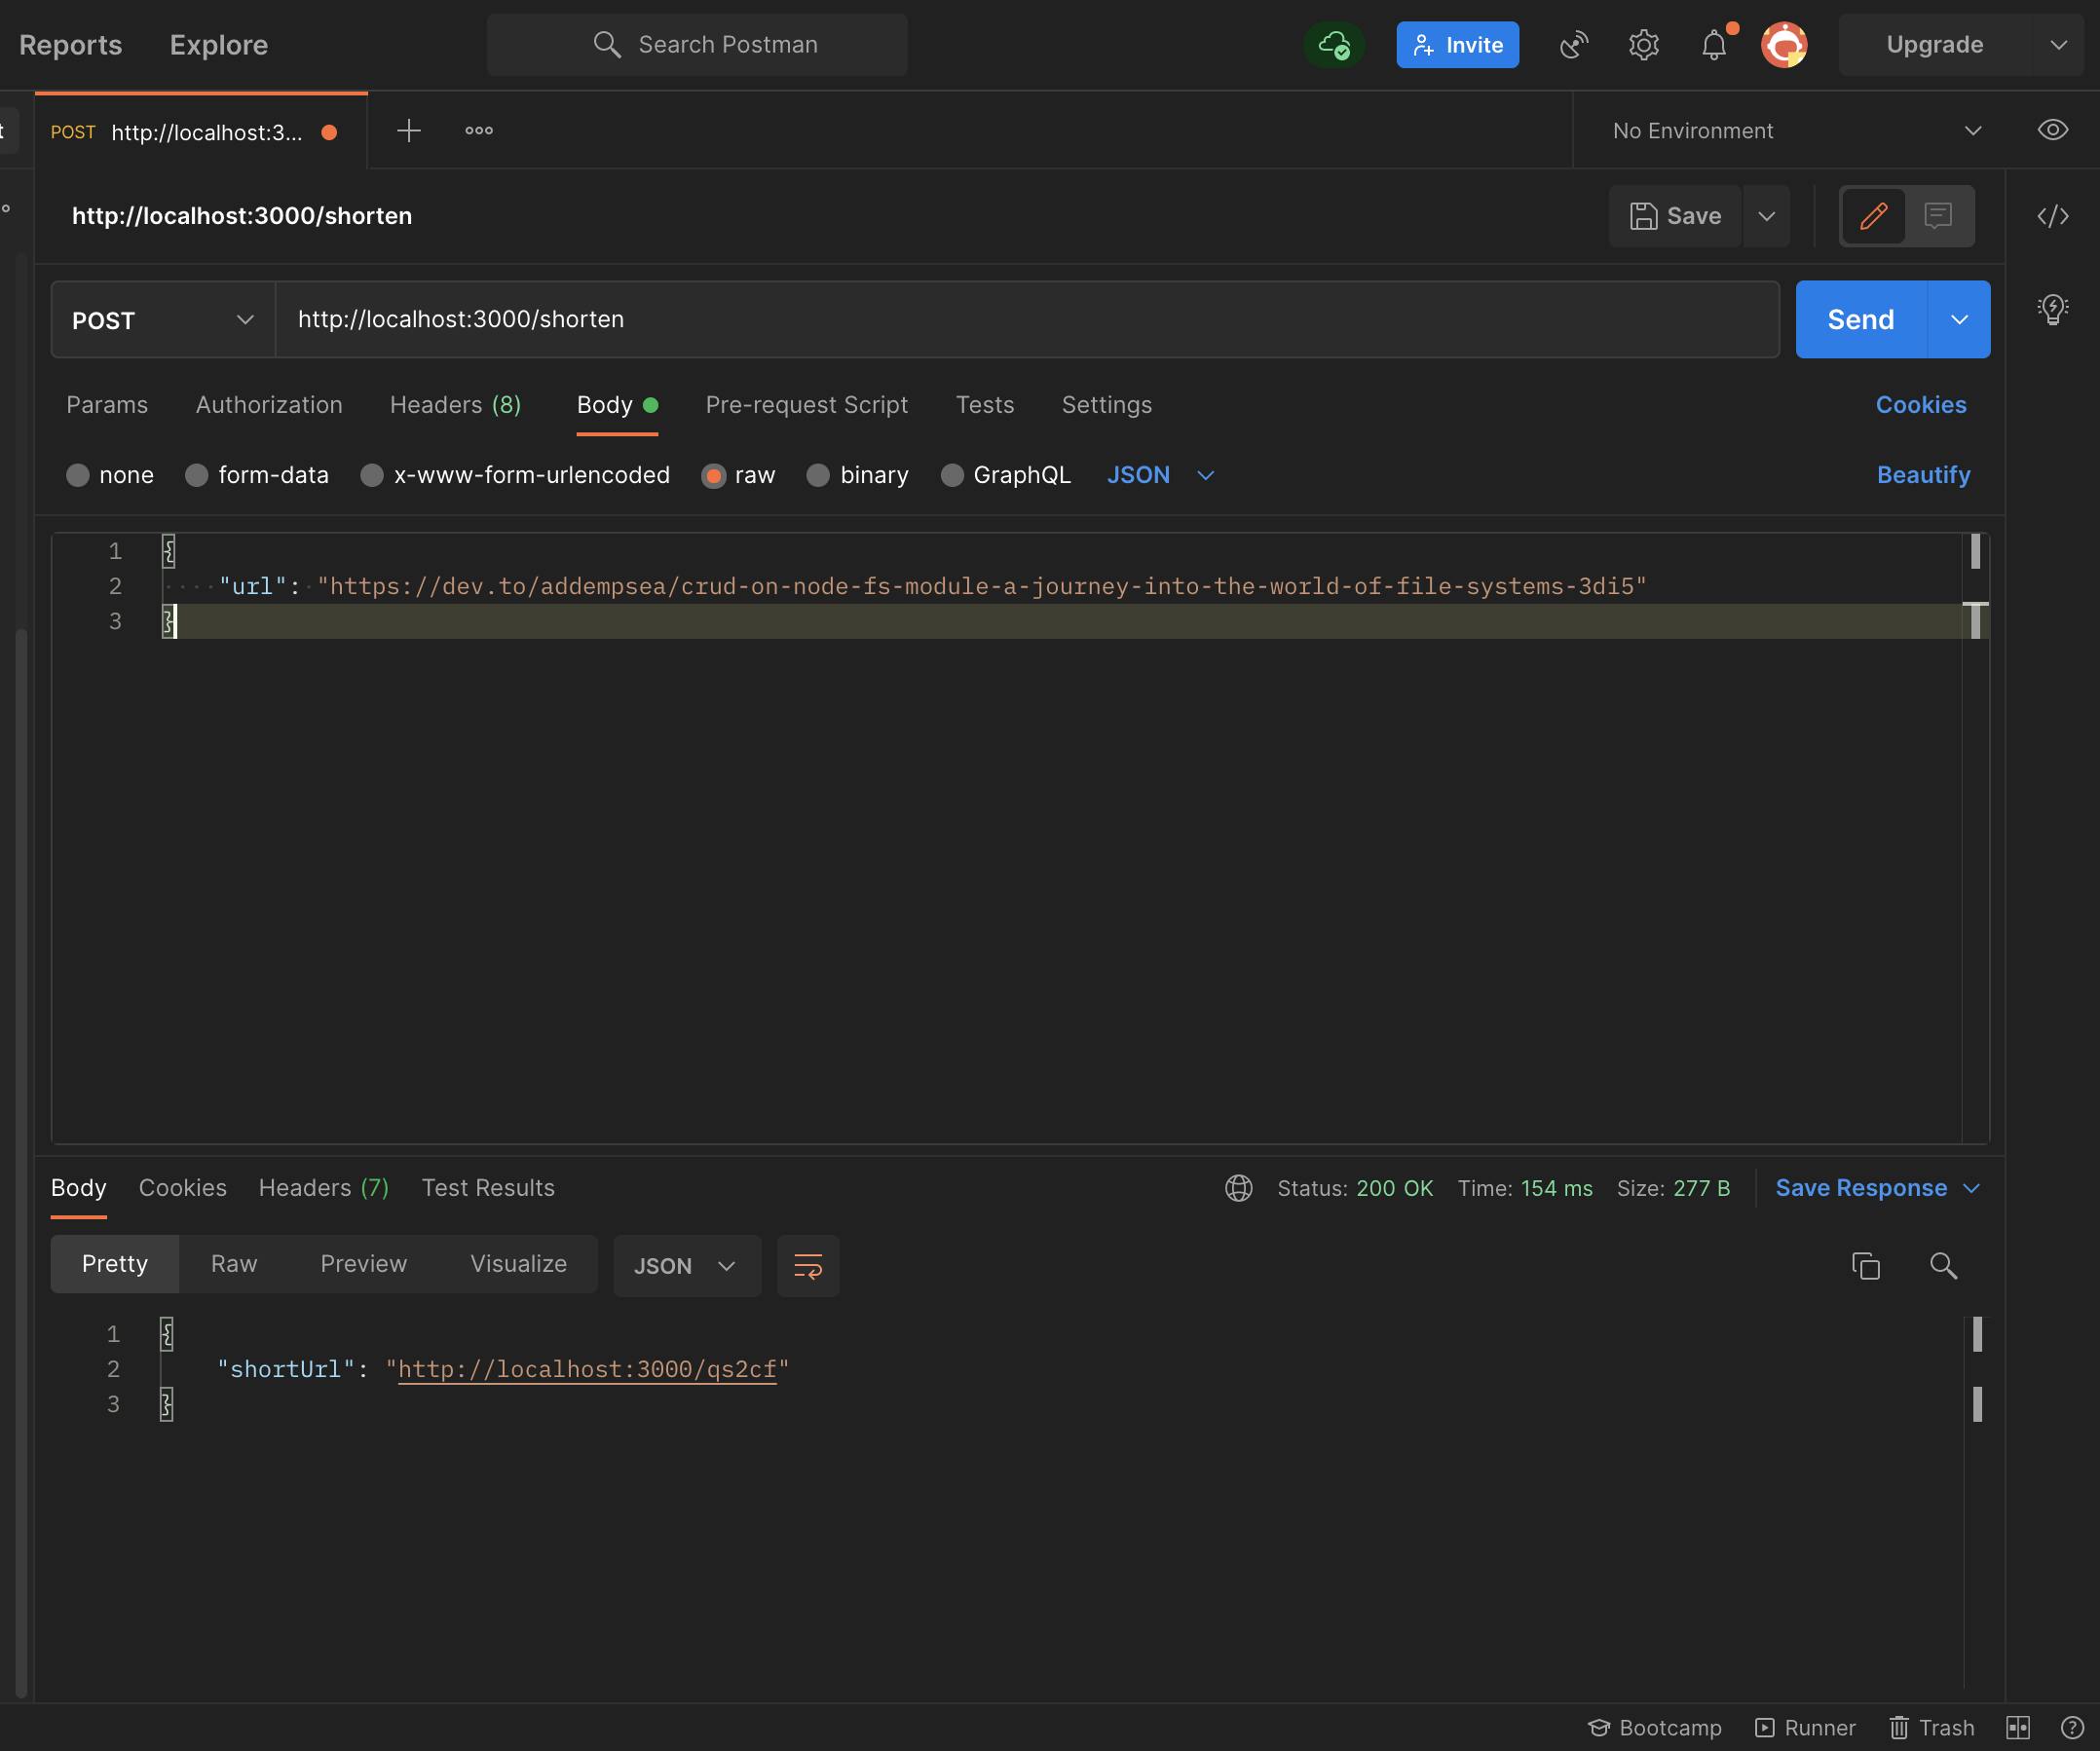
Test the endpoints on Postman.
 Postman response.
Great Job! You have successfully created a URL shortener.
I hope these steps were easy to follow. Please leave a comment if you found this blog post useful.
The link to the GitHub repo containing the code can be found here.
The cover image was sourced from here.
