Authentication acts as the first line of defence to allow access to valuable data only to those who are approved by the organization. Authentication is usually the first step in the development process of an application. As important as this step is, it can become quite monotonous for developers to have to replicate the process of authentication across several applications.
AuthX is an authentication solution that provides developers with easy implementable and customizable authentication features. With AuthX, you can add Sign Up / Sign In features to your websites/apps without writing a line of code.
In this tutorial, I will be taking you through how you can migrate an existing application to use AuthX. This tutorial assumes you already have a basic knowledge of JavaScript and Vuejs or any frontend framework.
Step 1- Creating an AuthX account
For this tutorial you will need a Radius AuthX account, you can sign up here - sign up.
Step 2- Create an AuthX application
In this step, you will create an AuthX application. When creating your application, you will be able to customise your sign up or login form by
selecting your primary and secondary colours,
selecting the fields for your forms,
selecting to integrate social media login (Google and Facebook),
specifying your redirect URL and opting for 2FA
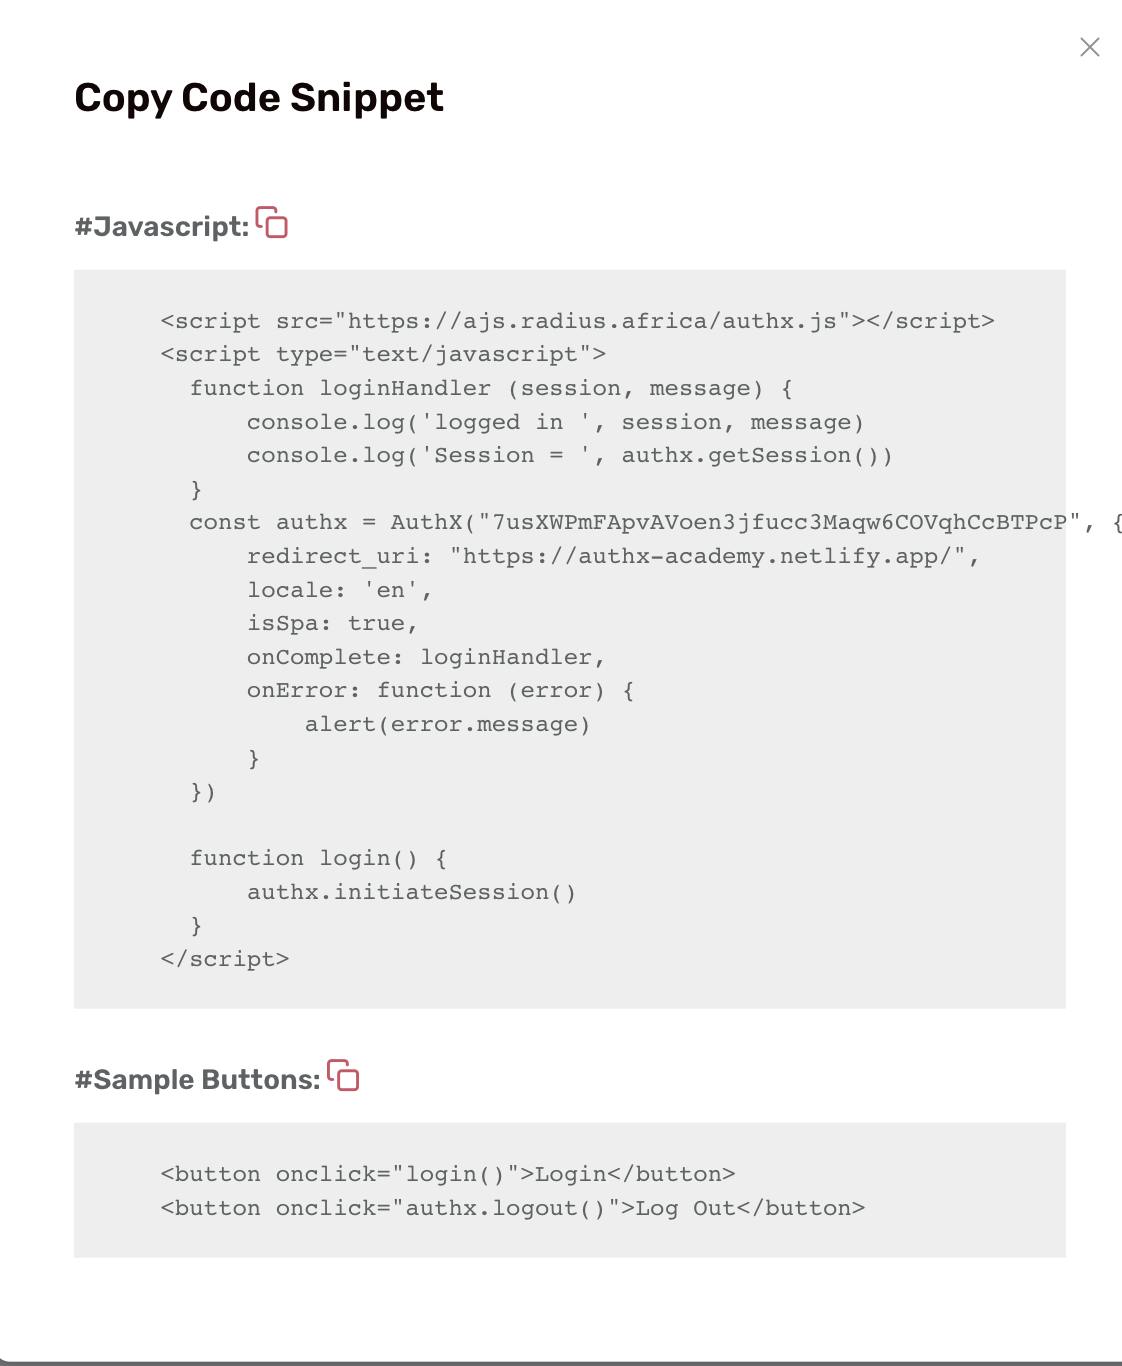
After saving your application you should see the client id, client secret and Application code for that application. You would also see a code snippet which is what would be integrated into your application


Step 2- Using the code snippets in an application
For the purpose of this tutorial I will be using an application written in vue.js.
Your script would look like this
<script src="https://ajs.radius.africa/authx.js" defer="true"></script>
<script>
export default {
  data() {
    return {
      authx: null,
    };
  },
  mounted() {
    const authXScript = document.createElement('script');
    authXScript.setAttribute('src', 'https://ajs.radius.africa/authx.js');
    document.head.appendChild(authXScript);
    authXScript.onload = () => {
      this.authx = AuthX("4suilDIhJxPM7JPzCTt5RrmlJIkfrgpmKtlY2D1Z", {
            redirect_uri: 'https://authx-academy.netlify.app',
            locale: 'en',
            isSpa: true,
            onComplete: this.loginHandler,
            onError: function (error) {
                alert(error.message)
            }
        })
    }
  },
  methods: {
    loginHandler(session, message) {
      console.log('logged in ', session, message);
      console.log('Session = ', this.authx.getSession());
    },
    login() {
      this.authx.initiateSession()
    }
  },
};
</script>
Next to login, you will call the login function on your login button like this:
<div><button @click="login">Login now</button> </div>
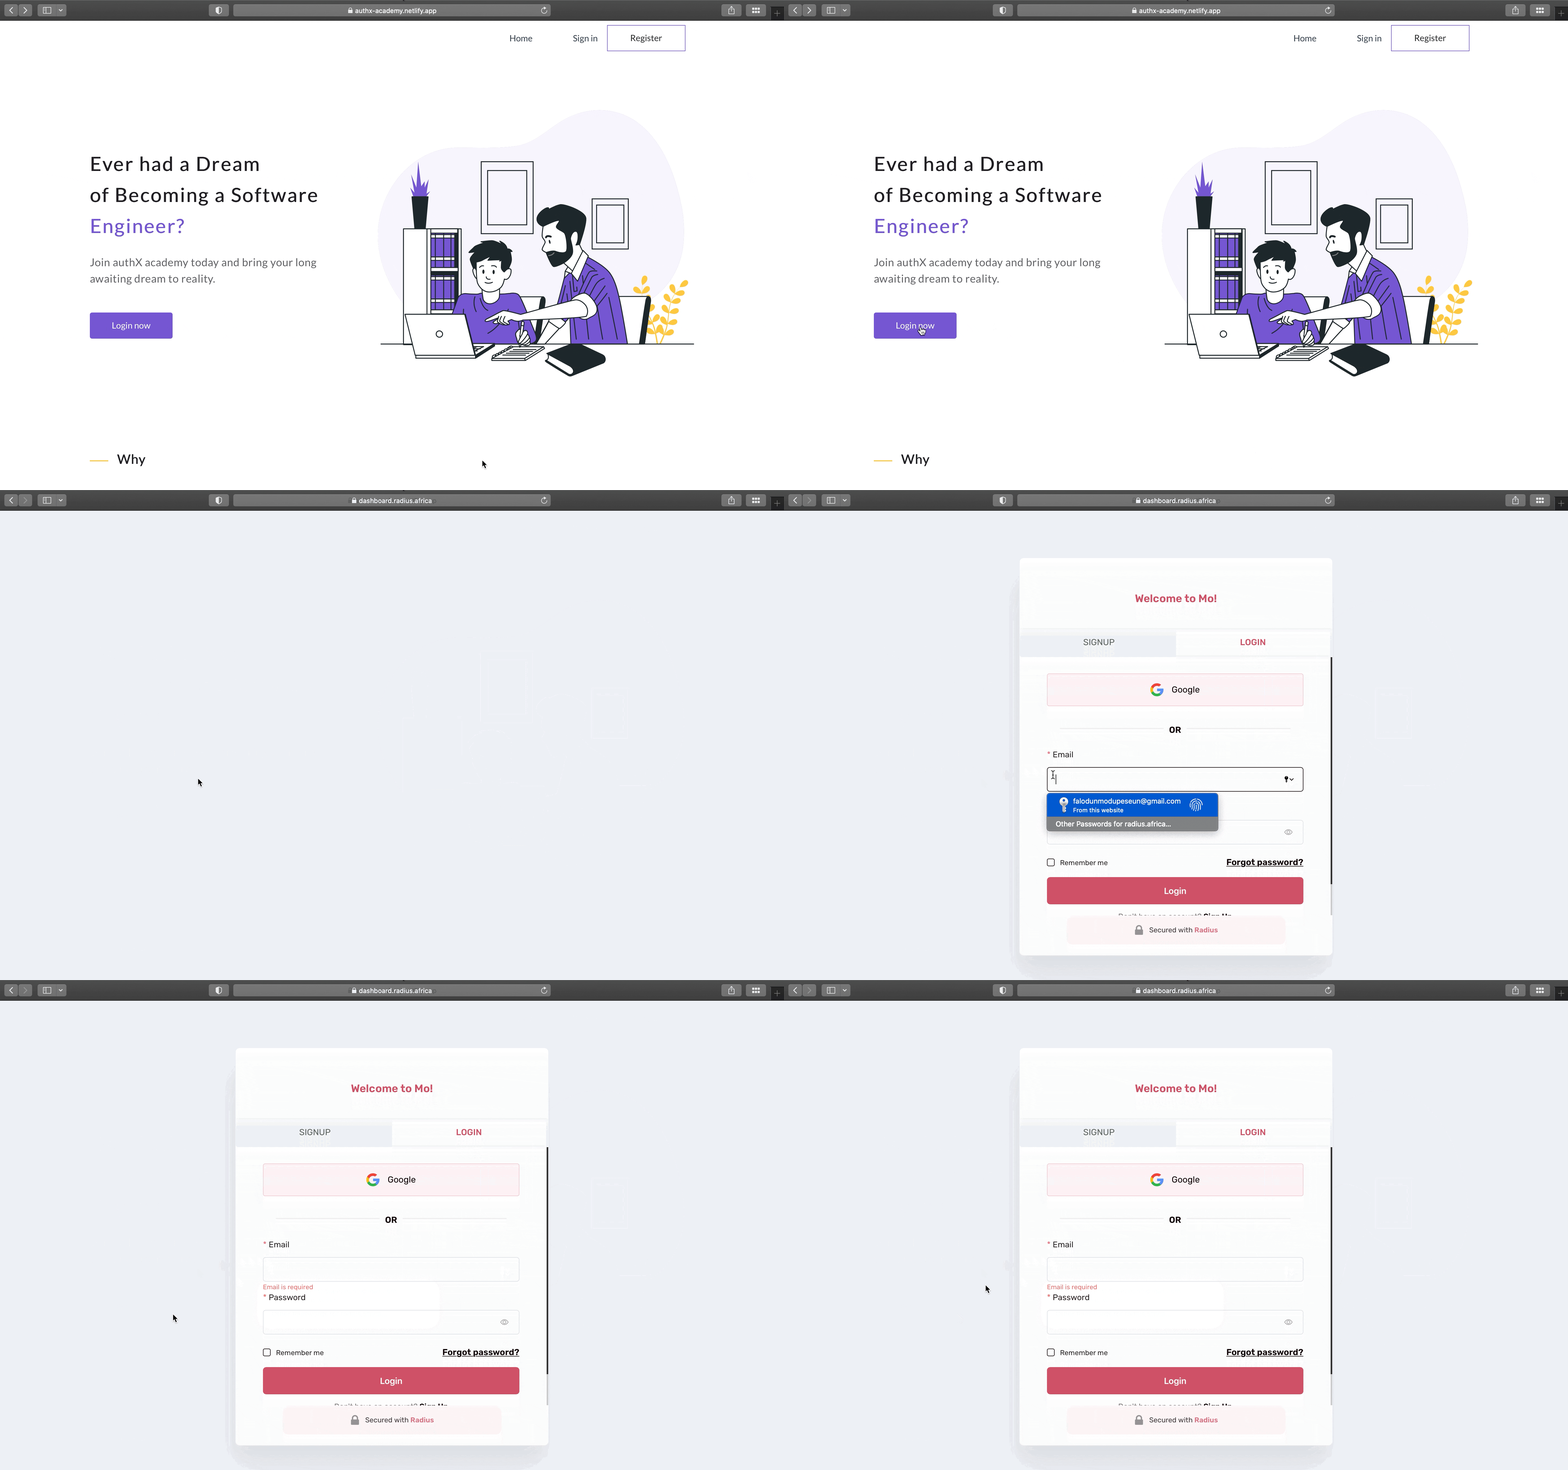
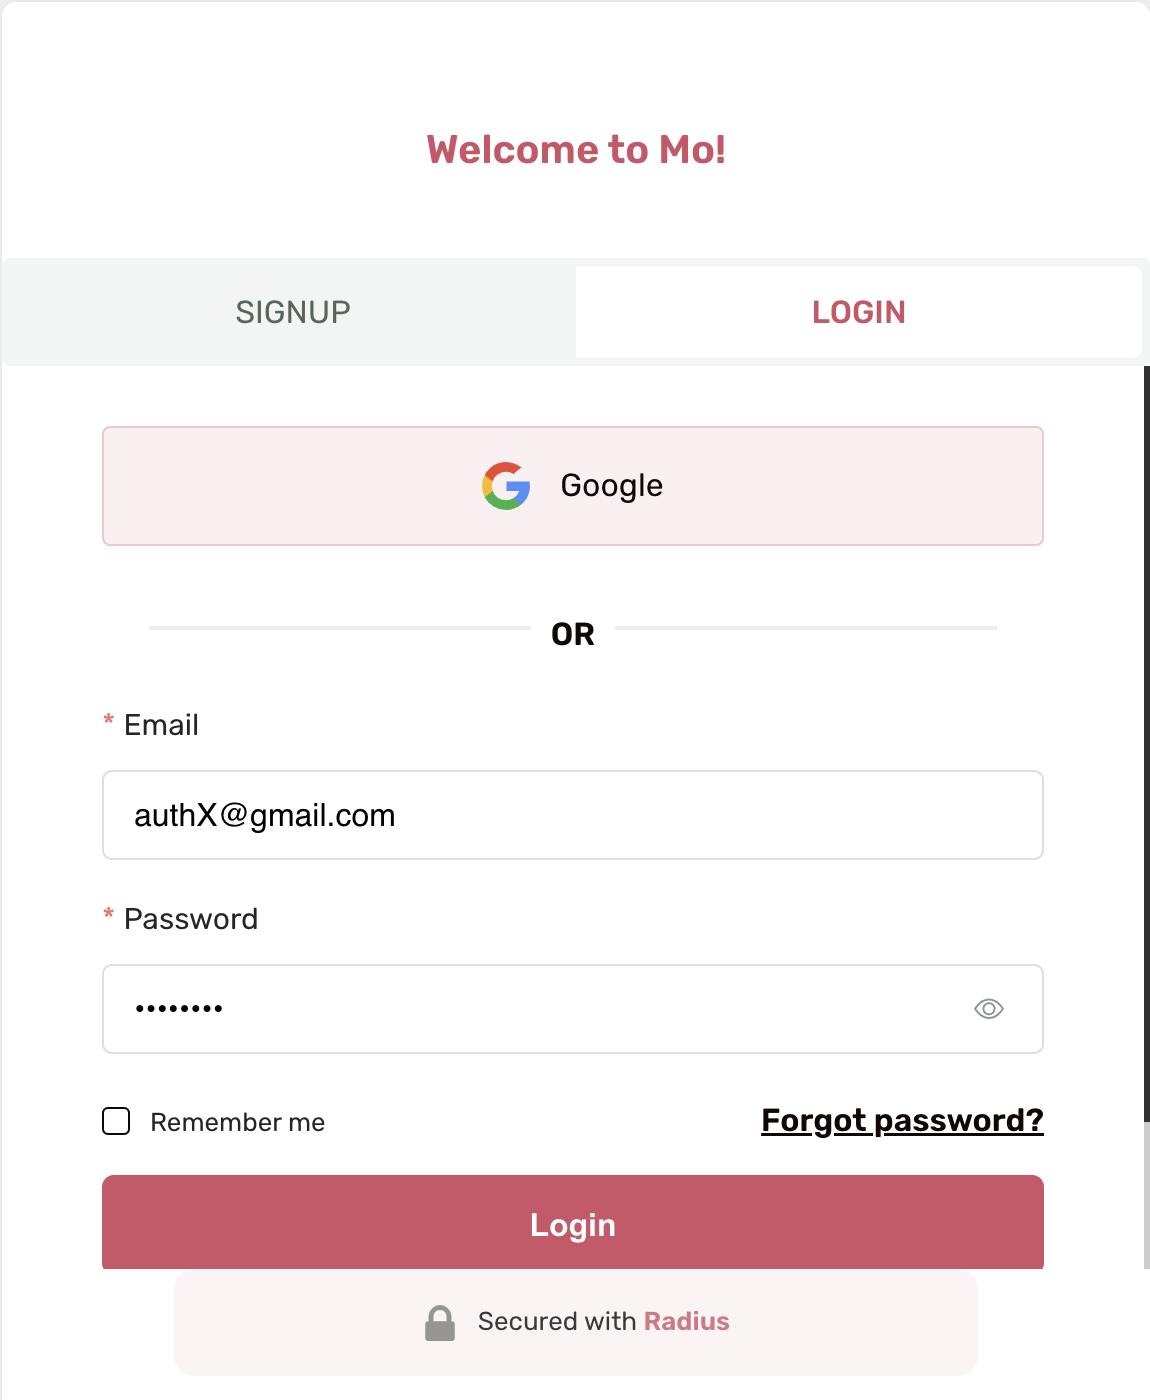
commit your changes and click on the login button. It will redirect you to the authX login where you can login and register your users seamlessly.


I hope these steps were easy to follow and I hope you enjoy using AuthX for a seamless authentication process.
Please leave a comment if you found this blog post useful. Thank you.
